How To Copy And Paste On Mac
Copying and pasting have been important functions for computers from as far back as 1983 when it was conceived byLarry Tesler, who was working for Apple at the time. They have since made repeating or replacing lines of code, entire sections of word documents, images, and even video clips much faster and simpler than manually re-typing, drawing, or dragging various elements around the programs we use.
Here we cover the different types of copy and paste functions on Mac, what their differences are, several common methods of performing them, and even how you can copy content from one Apple device and paste it to another. It’s a very simple and straightforward process with multiple methods of use; if one approach doesn’t work for you, there are still other ways to go about it. So long as you have a Mac computer or laptop and understand the basic user interface, such as highlighting, mouse or trackpad clicking, and where to find the Command key, you’re good to go.
How to copy and paste on Mac using a keyboard
to copy or cut using a keyboard, you first have to ensure the content you want to use is selected. For visual elements like images or video clips, you’ll likely need to click on them to select them, or, if you’re using an editing program, you can use that program’s selection tools. For text, you can either click and drag your mouse over the section you need to highlight or hold Shift (⇧) and use the arrow keys to manually select what you want.
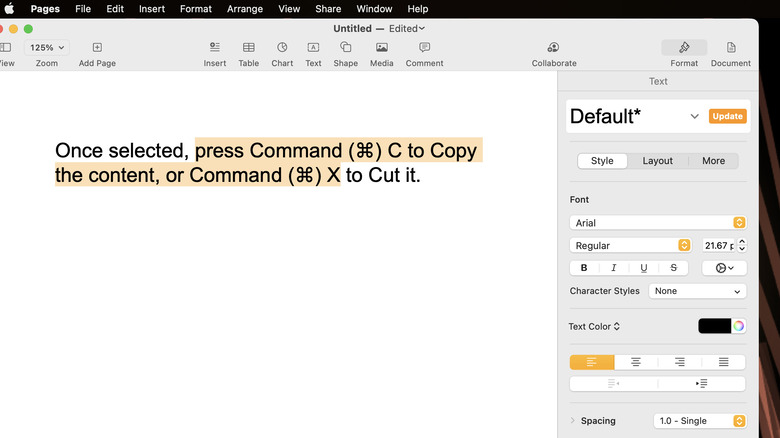
Once selected, press Command (⌘) and C to copy the content, or Command (⌘) and X to cut it.

With your content now in the clipboard, navigate to the spot where you want to paste it. For text, you’re able to either click or use the arrow keys to place the text cursor when you want the clipped content to go, or you can use the same methods outlined above to highlight a section you intend to replace.
When you’re ready, press Command (⌘) and V to paste your content, or Command (⌘) and Shift (⇧) with V to “Paste and Match Style.” Keep in mind the keyboard commands for the latter can sometimes differ depending on the program — for example, Pages requires you to press Command (⌘) and Shift (⇧) along with Option (⌥) and V.

How to copy and paste on Mac using a mouse or trackpad
Depending on your Mac’s setup, you may be using a more traditional mouse or a trackpad. While the basic functionality is the same between the two, the actions are slightly different. First, you need to make sure you’ve selected the content you intend to copy or cut first, as covered in the previous section.
If you’re using a mouse, right-click (click the right-side mouse button) on the selected segment and then select either “Copy” or “Cut” from the menu that appears. If your mouse doesn’t have a right mouse button, you may press and hold Control (⌃) on your keyboard and then click. To Paste, do the same by selecting the area you want to paste the content to, then right-click or Control-click and select “Paste” or “Paste and Match Style” (a.k.a., Paste without formatting).

Trackpads work much the same way except you’re able to press and hold Control (⌃) and click the trackpad to pull up the menu before selecting “Copy,” “Cut,” “Paste,” or “Paste and Match Style.” Depending on your Mac’s settings, you can also use multi-finger clicks (for example, clicking down on the trackpad with two fingers at the same time) to perform a right-click instead.
How to copy and paste on Mac using menus
Copy and paste using menus on a Mac is very similar to using a keyboard or a mouse, and you first have to select content using the same methods as before. you may click to select, click and drag to highlight, right-click, Control-click, or use Shift (⇧) and the arrow keys to highlight what you want.
This time around, however, you’ll have to move the mouse cursor up to the “Edit” option on the toolbar at the top of the screen — it typically sits towards the top-left corner of the screen, just to the right of the “File” option on the toolbar. Select “Cut” or “Copy” from the pulldown menu to add the selected content to your Mac’s clipboard. Then, when you’re ready, open the “Edit” menu on the toolbar again and select “Paste” or “Paste and Match Style” to finish the job.

How to copy and paste between Apple devices
You can also copy and paste content between your Mac and other Apple devices like an iPhone or iPad — provided these devices are connected to youriCloud account, are updated to their most recent software versions, and you’re usingmacOS Sierraor newer. It may involve some initial setup if you don’t have Handoff turned on for all of your devices, but once that’s finished, the process works the same way as it does in all of the previous examples.
When to Copy vs Cut
Pasting won’t work if there’s nothing stored in your Mac’s clipboard — the place where copied or cut content is temporarily stored — so you’ll need to be sure you start here. It’s also important to note that the clipboard can only store one slice of content at a time (i.e., one image, one text selection, one video clip, etc.), and anything you copy or cut will replace whatever was previously stored in the clipboard.
As for the difference between copying and cutting, it’s a matter of what happens to the content you’ve selected. If you copy something, the source content will remain in place and a copy of it will be stored in the clipboard. If you cut something, the source content will be removed (“cut”) from its location and stored in the clipboard.
In other words, use “Cut” if you want to move content from one place to another and go with “Copy” if you want to create a duplicate of it in a new location.
When to Paste vs Paste and Match Style
Once you have your content stored on the clipboard, you’ll need to paste it somewhere. Unlike copying or cutting, pasting does not affect the clipboard’s contents, meaning once you paste content somewhere, that content is still stored in the clipboard until it’s replaced via another copy or cut command — or if your computer is shut down or restarted.
Which option should you choose? Under most circumstances, “Paste” is the fastest and simplest option, and it’s all that’s necessary when you don’t have to worry about things like formatting. This function will place the clipboard’s content in the location you’ve selected with no formatting changes or adjustments — though, the way it’s laid out may appear different from one location to the next based on factors like how large the destination image canvas is compared to the source image size, the spacing of your text document, and so on.
Conversely, “Paste and Match Style” (also referred to as “Paste without formatting”), which is primarily used for text, will automatically adjust the clipboard contents to fit in with the location where they’re being pasted. So if, for example, your source text uses the Arial font and is set to 11pt, and your destination document uses Helvetica at 12pt, when you use “Paste and Match Style,” the pasted content will change to 12pt Helvetica.
